
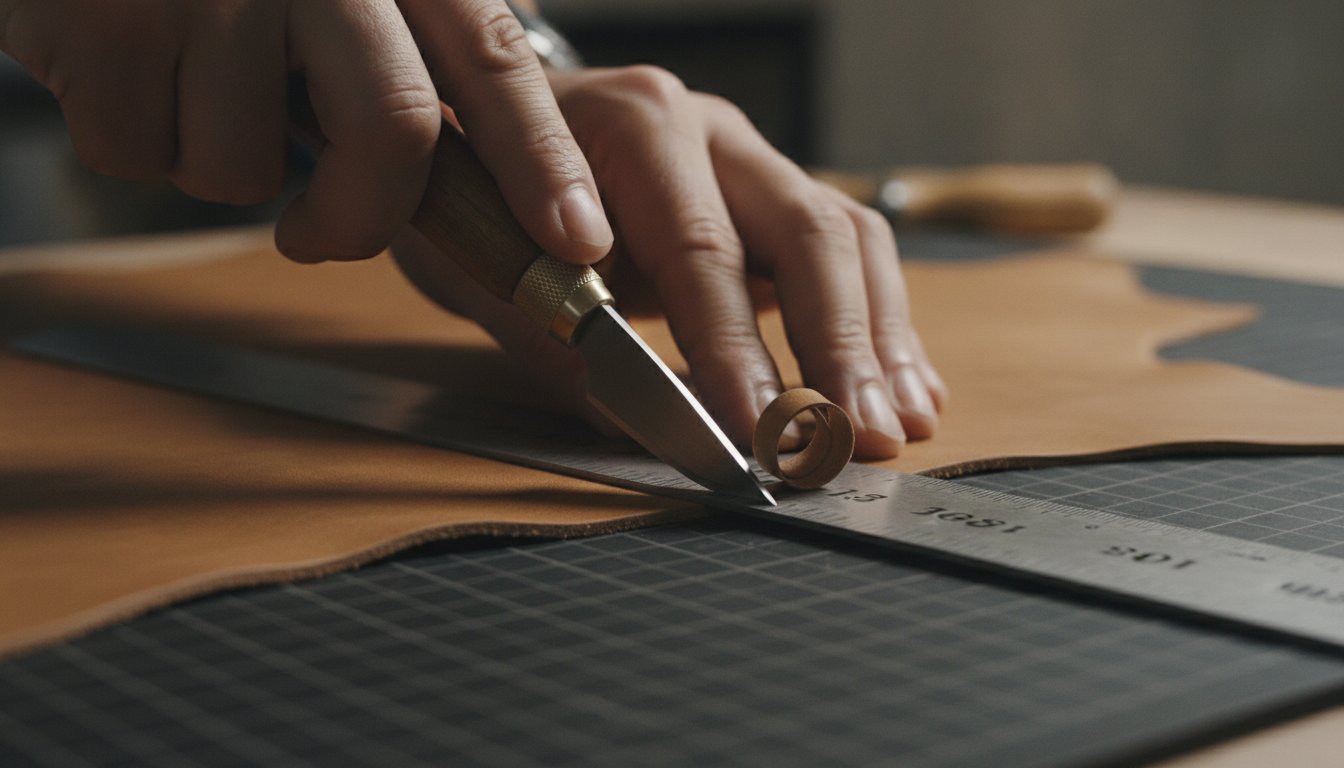
What if the secret to a professional leather edge isn’t about the strength of your grip, but the geometry of your blade? Many new makers approach a thick 8/9 oz veg-tanned shoulder like they’re cutting paper, only to end up with jagged lines and wasted material. Mastering leather cutting techniques for beginners is the first step toward transforming wholesale-grade hides into heirloom-quality goods.
It’s frustrating to watch a premium hide go to waste because of a wandering knife. You deserve the confidence that comes with using professional tools like C.S. Osborne or Craftool knives. This guide teaches you how to achieve clean, straight lines and smooth curves using the multi-pass method. You’ll learn how to match your blade to the specific leather weight and keep your edges sharp enough to glide through the material so it feels soft-as-butter. Let’s prepare your workbench for precision.
Key Takeaways
- Learn how to select the ideal blade for your specific leather weight to ensure maximum control and precision on every project.
- Master fundamental leather cutting techniques for beginners to achieve clean, burnish-ready edges without the frustration of jagged cuts.
- Discover how to read a hide’s grain and topography to ensure your structural components remain durable and resistant to stretching.
- Find out why investing in professional-grade tools from trusted brands like C.S. Osborne can significantly improve your accuracy and reduce hand fatigue.
Essential Tools for Professional Leather Cutting
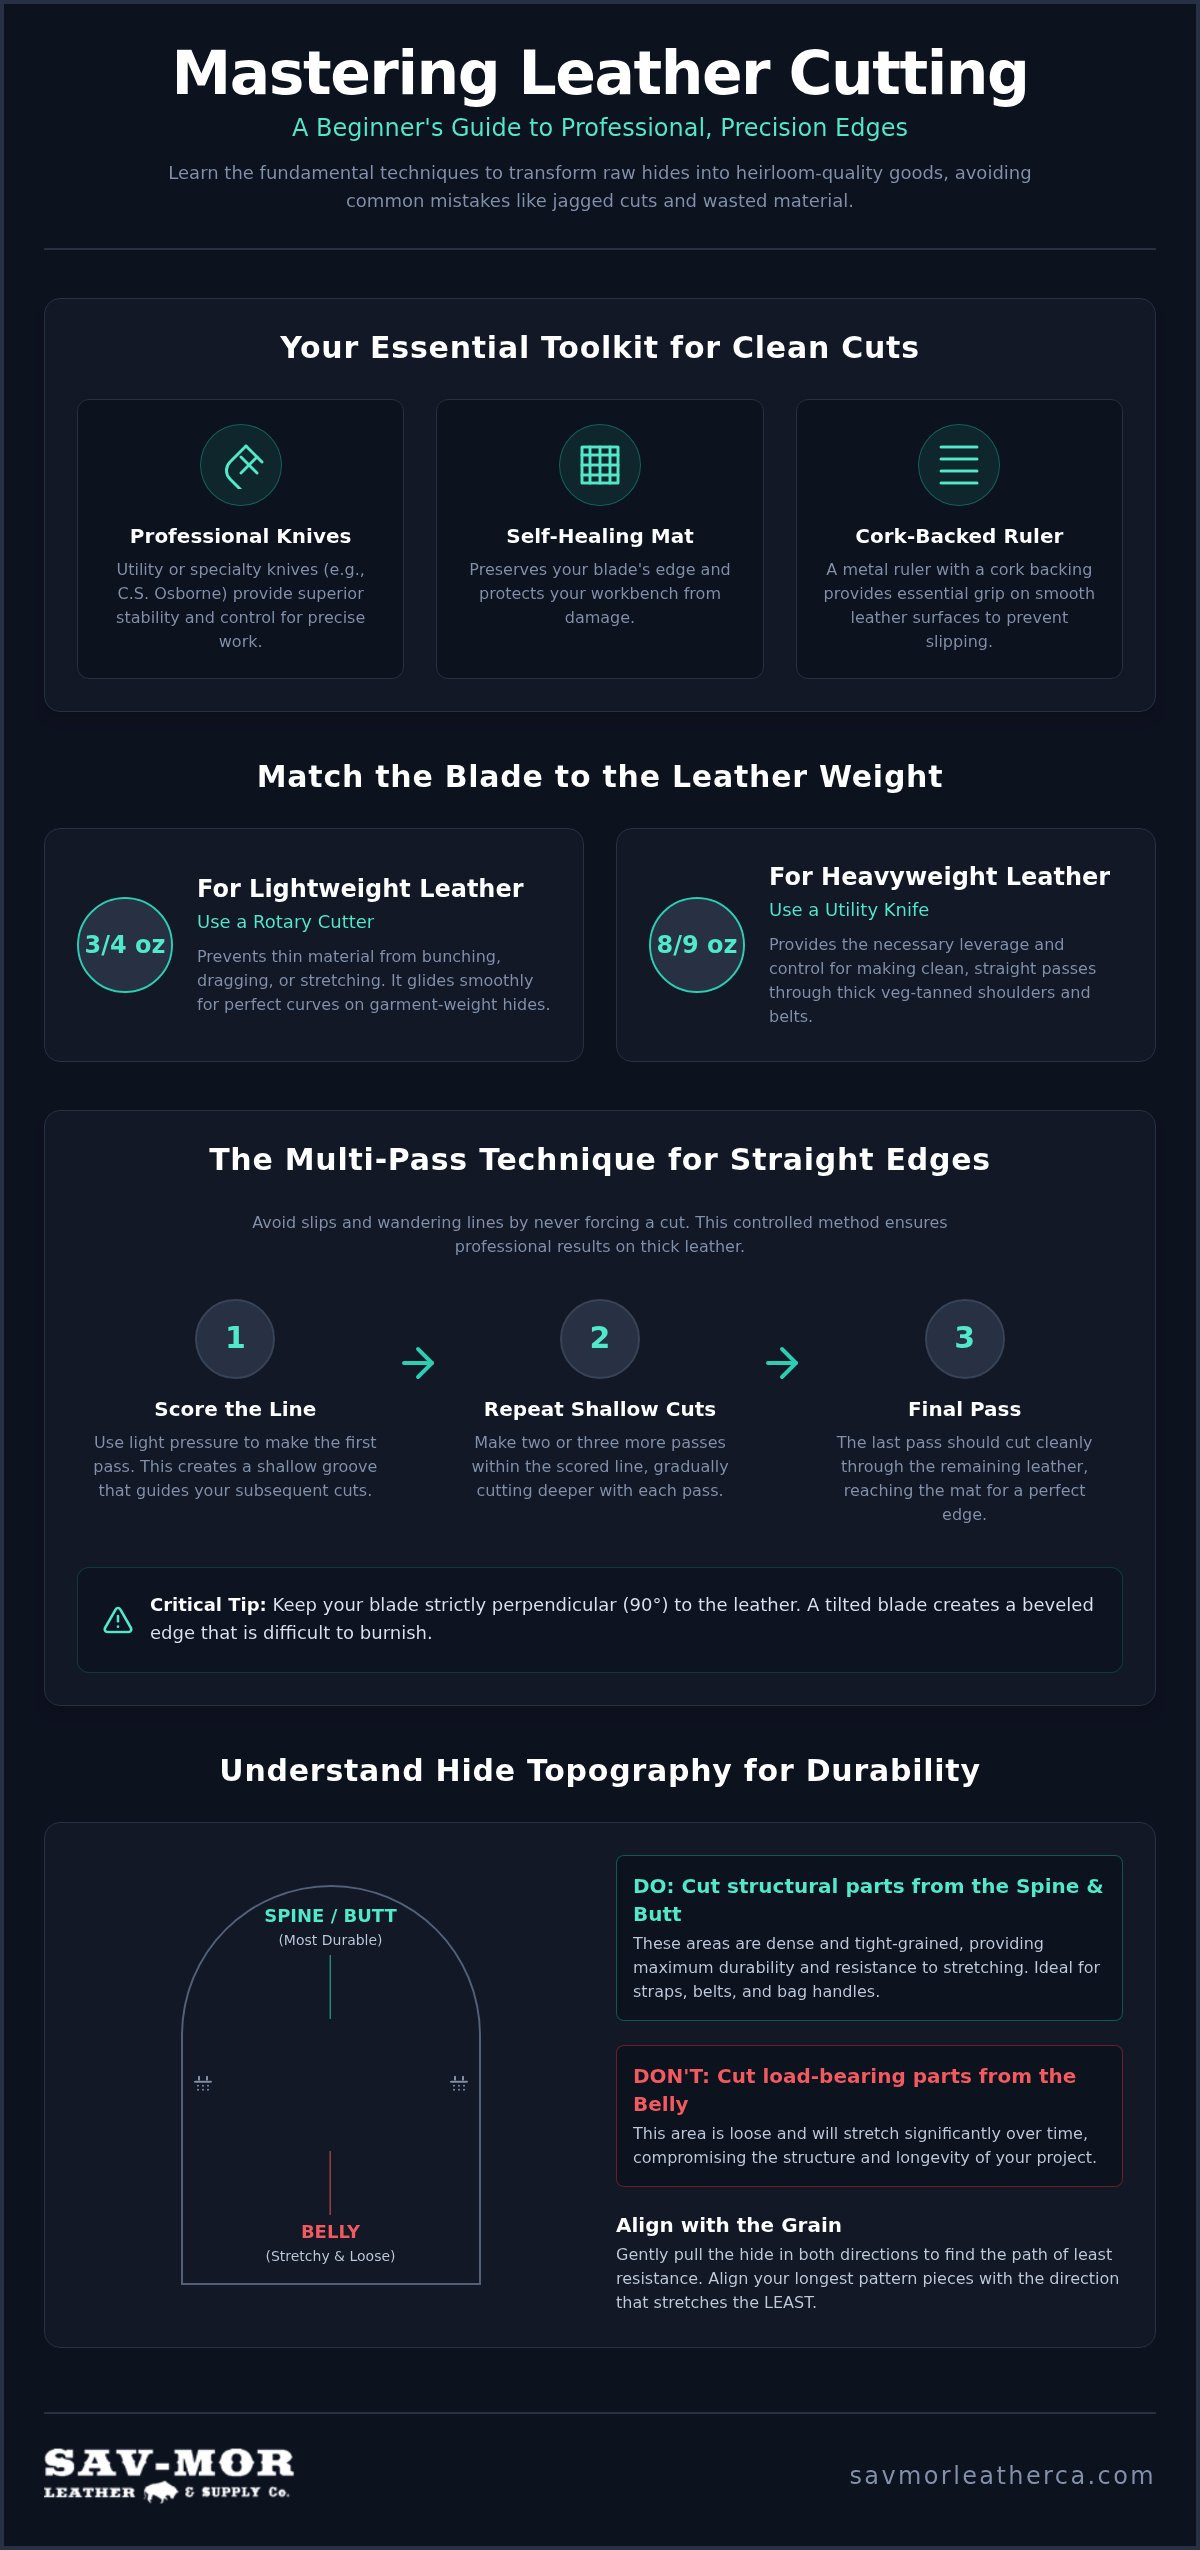
Achieving a clean edge starts with your kit. While generic craft blades might seem sufficient, professional-grade leather tools from legacy brands like C.S. Osborne or Craftool offer the stability needed for precise work. Sav-Mor provides these essential items at wholesale prices, ensuring you don’t have to compromise on quality. A standard utility knife provides excellent control for straight lines. In contrast, a rotary cutter excels at gliding through curves without dragging the hide. These tool choices are foundational to mastering leather cutting techniques for beginners.
Your workspace requires two often-overlooked essentials: a self-healing cutting mat and a leather strop. The mat preserves your blade’s edge by allowing it to sink slightly into the surface rather than dulling against a hard table. To maintain that “soft-as-butter” feel during a cut, use a strop frequently. Polishing the blade with jeweler’s rouge removes microscopic burrs. This ensures the steel remains sharp enough for complex Leather Crafting Techniques like skiving or detailed trimming.
Selecting the Right Blade for Your Leather Weight
Matching your tool to the hide’s thickness prevents ruined projects. For lightweight 3/4 oz garment leather, a rotary cutter is indispensable. It prevents thin material from bunching under a fixed blade. When you move to heavy 8/9 oz veg-tan shoulders, a utility knife provides the leverage required for clean passes. Don’t invest in a traditional “Head Knife” immediately. While it’s a versatile tool, it requires advanced sharpening and handling skills that can frustrate a new maker.
The Multi-Pass Technique for Clean, Straight Edges
Forcing a single deep cut is the primary cause of beginner accidents and ruined hides. When you apply excessive pressure to get through a heavy 8/9 oz shoulder in one go, the blade is likely to wander or slip. The cornerstone of effective leather cutting techniques for beginners is the multi-pass method. Start with a light score to establish your line, then follow with two or three shallow cuts until you reach the mat. This controlled approach ensures professional results every time.
Consistency requires a stable environment. Position your lighting so shadows don’t obscure your cut line. Use a cork-backed metal ruler to provide grip against smooth cowhide surfaces, as a standard ruler will slide easily on the grain. Maintain the physics of a clean drag by keeping your blade strictly perpendicular to the cutting surface. Tilting the knife creates a beveled edge that won’t burnish correctly. For more detailed visual aids on hand positioning, this Beginner’s Guide to Cutting Leather offers excellent step-by-step imagery.
Mastering Smooth Curves and Intricate Shapes
Cutting radii requires a change in perspective. Instead of twisting your wrist, use the pivot method: keep the knife stationary and rotate the leather into the blade. To achieve perfect internal corners, use professional leather tools like a small hole punch at the vertex before cutting the straight lines. This prevents over-cutting and stops the leather from tearing under stress. When working with “soft-as-butter” garment leathers, use minimal downward pressure to avoid stretching the grain during the cut. Once your pieces are cut with precision, you can explore our selection of professional hardware to begin the assembly process.
Avoiding Common Beginner Mistakes in Pattern Placement
Understanding hide topography is as vital as the cut itself. Beginners often treat a side of leather like a uniform sheet of fabric, but a hide’s density varies significantly across its surface. The belly area is notably loose and prone to stretching. Avoid cutting structural straps or load-bearing components from this section, especially when working with heavy 8/9 oz veg-tanned hides. Instead, reserve the spine and butt areas for pieces that require maximum durability. This knowledge of anatomy is a core component of leather cutting techniques for beginners that ensures your projects don’t lose their shape over time.
Identifying the “tight” grain direction is your next priority. Every hide has a primary direction of stretch. Before you lay your pattern, pull the leather firmly in both directions to feel the resistance. Align your longest pieces with the direction of least stretch. When securing your patterns, don’t use heavy adhesives that might mar the premium finish. Opt for dedicated pattern weights or low-tack tape. Inspect the surface for natural growth marks and healed scars. While some marks add character, deep damage should be mapped out before you make your first score.
Maximizing Your Material: Efficient Nesting and Yield
Strategic nesting is the best way to reduce waste when working with wholesale leather hides. Arrange your largest panels first, then fit smaller items like card pockets or keepers into the remaining gaps. While structural integrity is paramount, incorporating a unique brand or natural marking can elevate the artisan aesthetic of a piece. For advanced sourcing tips and material selection, explore our Professional Guide to Wholesale Leather Supply. Efficient placement respects the material and maximizes the value of every hide in your workshop.
Elevate Your Craft with Precision Cutting
Mastering leather cutting techniques for beginners is a journey of patience and tool proficiency. By moving from single, forced cuts to the disciplined multi-pass approach, you ensure every edge is ready for a professional burnish. Your material choice is just as critical as your blade. Selecting the right section of the hide prevents unwanted stretch and preserves the structural integrity of your design. Sav-Mor Leather Supply has supported the maker community with reliable nationwide shipping since 1970. We provide a curated collection of professional tools and premium hides at wholesale pricing for every artisan. Shop Professional Leather Cutting Tools and Premium Hides at Sav-Mor Leather Supply to find the essential supplies for your next project. Your workshop is finally ready for its first precise cut.
Frequently Asked Questions
What is the best knife for a beginner leather crafter?
A utility knife with replaceable blades is often the best starting point. It offers consistent sharpness without the need for advanced sharpening skills. For those seeking professional-grade durability, a fixed-blade knife from a brand like C.S. Osborne provides superior control. These tools are essential for practicing leather cutting techniques for beginners because they minimize the risk of the blade flexing during a cut.
How do I stop my leather from stretching while I cut it?
Prevent stretching by using the multi-pass technique and ensuring your blade is perfectly sharp. Avoid pulling or dragging the hide with your non-cutting hand. Instead, use heavy pattern weights to hold the material flat against the mat. If you’re working with “soft-as-butter” garment leather, a rotary cutter is often more effective than a fixed blade because it applies downward pressure rather than lateral tension.
Why is my leather cutting edge looking jagged even with a new blade?
Jagged edges often result from using too much pressure or cutting at an incorrect angle. If you try to force the blade through a thick 8/9 oz veg-tan shoulder in one pass, the leather fibers may tear rather than slice. Ensure your blade remains perpendicular to the cutting surface. Consistent stropping on a leather strop after every few cuts will also help maintain a clean, professional edge.
Can I use a regular craft mat for leatherworking?
You should use a dedicated self-healing cutting mat designed for heavy-duty work. Regular craft mats intended for paper are often too thin to withstand the pressure required for leatherwork. A professional-grade mat allows the blade to sink slightly. This prevents the tip from snapping and ensures a smoother travel. This setup is crucial for executing precise leather cutting techniques for beginners without damaging your workbench.

Article by
Sav-Mor Leather Supply