
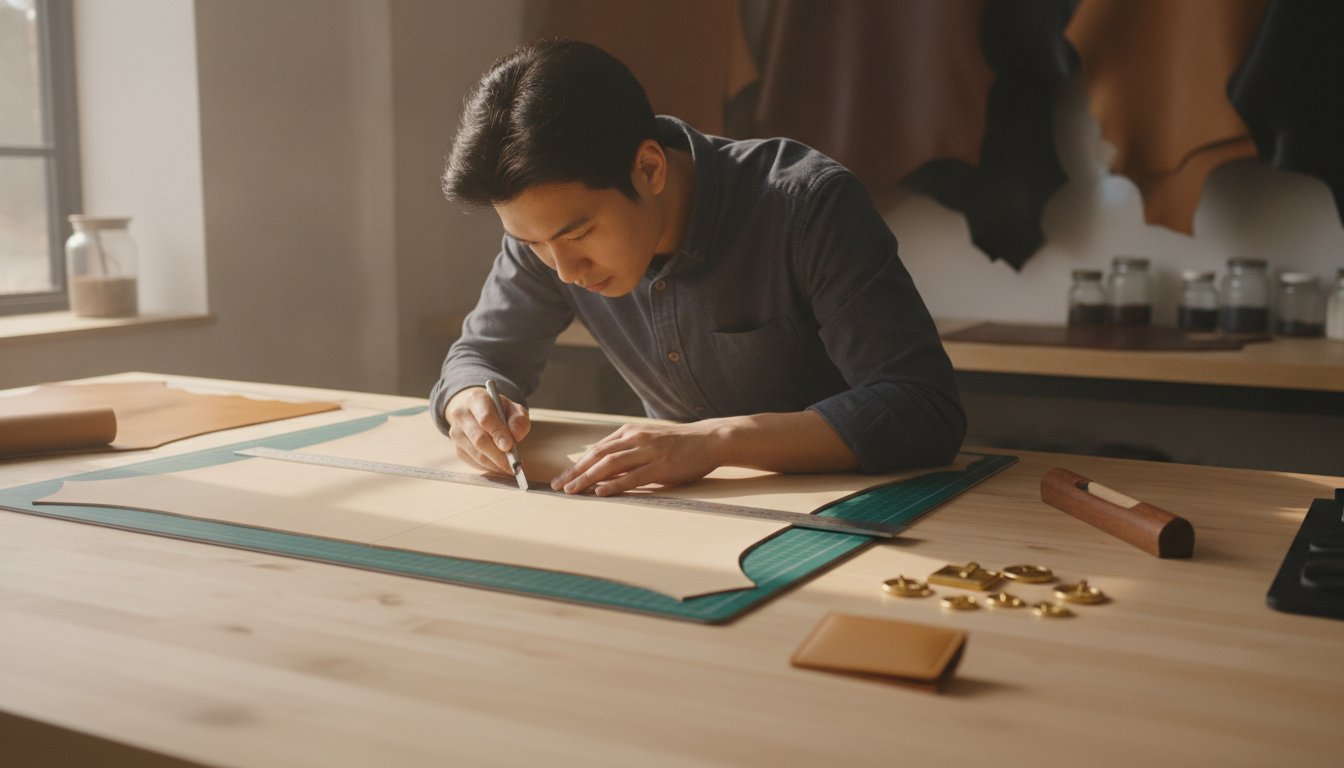
Your first hide shouldn’t feel like an expensive gamble. While 62% of consumers state that durability is the most important factor when purchasing leather goods, many beginners struggle to achieve that professional standard because they start with inferior materials or confusing patterns. It’s common to feel overwhelmed by technical weights or the fear of wasting a premium hide. By focusing on the right beginner leatherworking projects, you can bridge the gap between hobbyist experiments and high-end craftsmanship from your very first afternoon in the workshop.
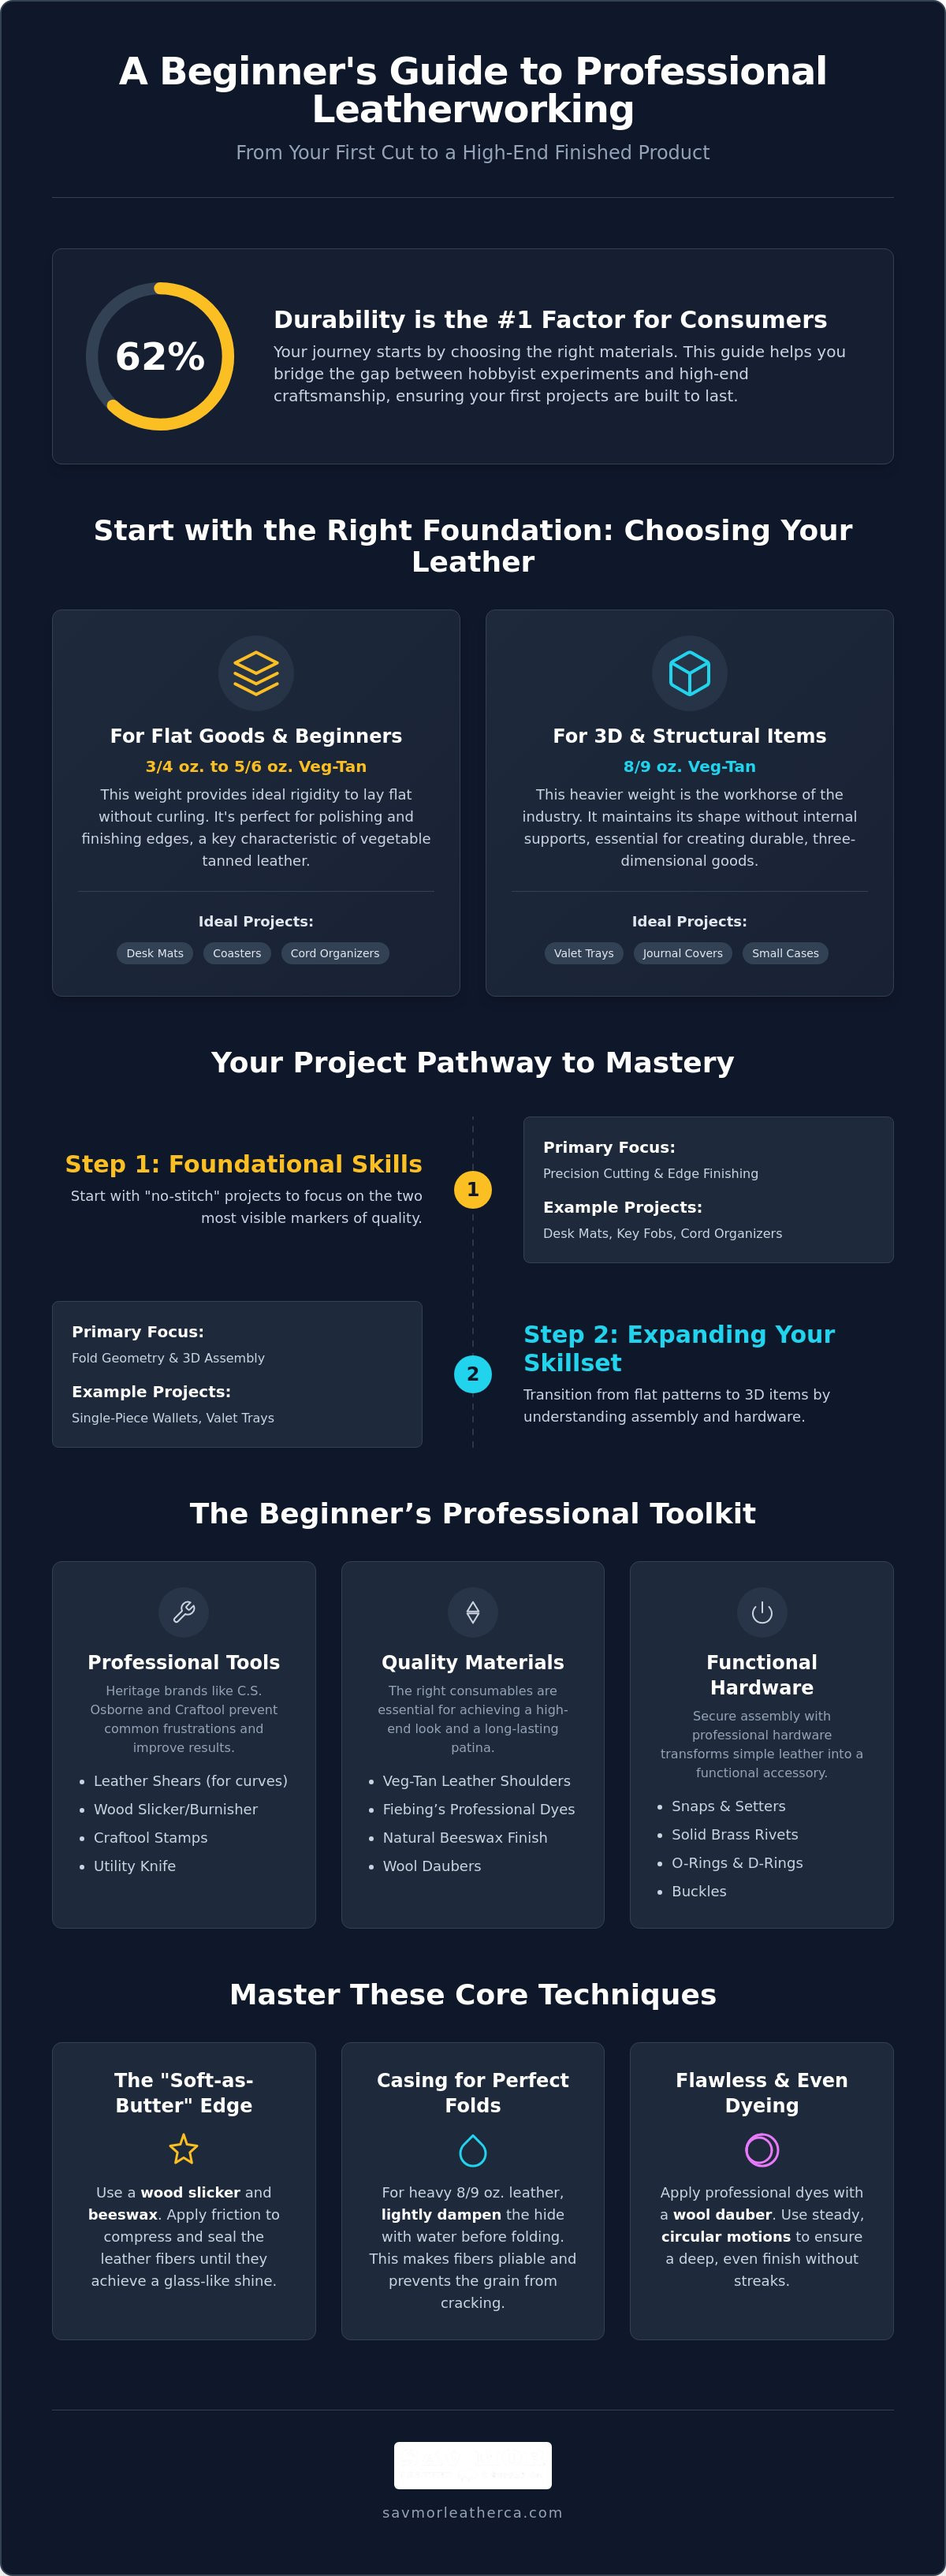
We believe that starting with quality is the only way to build lasting skills. This guide explores accessible projects that prioritize clean cuts and functional assembly without the frustration of complex stitching. We will walk you through the utility of 3/4 oz. to 5/6 oz. vegetable tanned leather for flat goods and show you how to transition into structural 3D items using professional hardware. You’ll also discover why sourcing professional tools from heritage brands like C.S. Osborne is the essential shortcut to achieving a “soft-as-butter” finish on every edge.
Key Takeaways
- Identify why 3/4 oz. to 5/6 oz. vegetable tanned leather provides the ideal structural integrity for your first flat projects.
- Explore beginner leatherworking projects that prioritize precision cutting and edge finishing to build a professional skill foundation.
- Master the transition from flat patterns to three-dimensional items by understanding fold geometry and hardware application.
- Discover how using professional tools from heritage brands like C.S. Osborne and Craftool prevents common frustrations and improves results.
- Learn to apply professional-grade dyes and finishes to ensure your handmade items develop a beautiful, long-lasting patina.
The Foundation: Simple Leather Projects with High Utility
Starting with “no-stitch” designs allows you to focus on the two most visible markers of quality: the precision of your cut and the smoothness of your edge. These beginner leatherworking projects offer high utility and immediate results, helping you produce professional items in a single afternoon. By prioritizing assembly and finishing before moving to complex stitching, you build the muscle memory required for more advanced construction techniques.
For flat projects like a professional desk mat or coasters, choosing the right hide is essential. While soft garment leathers are tempting, 3/4 oz. to 5/6 oz. vegetable tanned leather is the ideal starting point. This specific weight provides enough rigidity to lay flat without curling. Since vegetable tanned leather reacts to friction, it allows the fibers to be compressed and polished; this is a characteristic you won’t find in chrome-tanned alternatives.
A professional desk mouse pad is an excellent first project because it requires large, clean cuts that build confidence with your blade. Similarly, minimalist cord organizers introduce you to essential leather hardware such as snaps. These small additions transform a simple strip of leather into a functional accessory while teaching you how to set hardware securely without damaging the grain.
Mastering the Cut and Edge
Achieving a clean line requires professional leatherworking tools. While a standard utility knife works for straight lines, professional leather shears offer better control for curves. Understanding the History and techniques of leathercraft reveals that the secret to “soft-as-butter” edges isn’t just the tool, but the friction. Use a wood slicker and a natural finish like beeswax to seal the fibers until they achieve a glass-like shine.
Small Goods: Key Fobs and Bookmarks
Vegetable tanned leather shoulders from Sav-Mor Leather Supply are a cost-effective way to practice stamping and finishing on a smaller scale. These dense areas of the hide are perfect for accessories like key fobs or bookmarks. You can experiment with decorative textures using professional Craftool stamps to add a personalized touch. This process builds the precision needed for more advanced tooling, ensuring your first beginner leatherworking projects look like they came from a professional workshop.
Expanding Your Skillset: Projects that Teach Assembly
After practicing precision cutting on flat goods, the next step in your journey involves three-dimensional construction. This stage of beginner leatherworking projects introduces pattern transfer and the specific geometry of folds. Unlike the flat desk pads mentioned earlier, these items require you to visualize how a single piece of hide wraps around an object. A single-piece card wallet is the ideal project for this transition. It teaches you how to map out a pattern on professional leather hides so that the final product remains slim yet durable, accounting for the physical thickness of the leather at every bend.
Structural integrity becomes your primary focus when creating items like a valet tray. While we recommended lighter weights for bookmarks in the previous section, a valet tray requires the substance of an 8/9 oz. veg-tan shoulder to maintain its shape without internal supports. Assembly for this project relies on mechanical joints rather than stitching. Setting rivets at the corners provides a clean, industrial look that is both functional and aesthetically refined. Incorporating leather hardware like o-rings or solid brass rivets from Sav-Mor Leather Supply elevates the piece from a simple tray to a professional accessory.
Working with Heavier Weights
Heavier 8/9 oz. shoulders are the workhorses of the industry, but they require specific handling to avoid damage. To prevent the grain from cracking during aggressive folds, you must “case” the leather. This involves lightly dampening the hide with water to make the internal fibers more pliable. It is a professional technique that ensures your beginner leatherworking projects maintain their structural integrity and visual appeal over years of use.
Introduction to Leather Dyes
Applying custom color is where your work truly begins to reflect your personal style. Use Fiebing’s professional dyes on undyed veg-tan shoulders to achieve deep, curated tones that a factory finish cannot replicate. When dying larger surfaces like a valet tray or a journal cover, use a wool dauber and work in steady, circular motions. This method ensures an even finish without the streaking that often plagues early attempts. It’s a simple way to achieve a high-end look while learning the sensory beauty of the material.
The Beginner’s Professional Toolkit and Material Guide
Starting your craft with a generic hobby-store kit is the most common cause of early frustration. These kits often include low-grade steel that dulls quickly, making your beginner leatherworking projects harder than they need to be. Professional leatherworking tools are designed to maintain a razor-sharp edge and provide the ergonomic support necessary for clean execution. By investing in heritage brands like C.S. Osborne and Craftool from the start, you ensure that every cut and punch is precise, mirroring the quality of a seasoned artisan’s workshop.
We believe premium materials should be accessible to everyone. Sav-Mor provides the same high-end leather and professional dyes, such as Angelus and Fiebing, to first-time makers at wholesale prices. This “Master Curator” approach allows you to practice on the same hides used by luxury designers without the typical retail markup. Understanding how to match leather weight to your project is the final step in achieving a professional result:
- 3/4 oz.: Ideal for linings, delicate bookmarks, and light key fobs.
- 5/6 oz.: The standard for wallets, journal covers, and mid-weight beginner leatherworking projects.
- 8/9 oz.: Necessary for structural items like belts, valet trays, and heavy-duty cases.
Essential Tools for Your First Five Projects
Precision is the difference between a homemade look and a professional finish. A high-quality wing divider is essential for marking consistent stitch lines and border distances. Similarly, an edge beveler removes the sharp corner of the leather, preparing it for a “soft-as-butter” burnish. For any task involving cutting or piercing, we recommend C.S. Osborne. Their tools have been an industry standard since the 19th century, offering a level of durability that cheaper alternatives can’t match.
Sourcing Your Leather Nationally
Ordering the right amount of material prevents waste and saves money. For small goods, you might start with a specific square footage or a veg-tanned shoulder rather than a full hide. We recommend starting with undyed veg-tan because it’s a blank canvas. It allows you to learn construction, stamping, and finishing all on a single piece of heritage-quality cowhide. Whether you’re in Los Angeles or across the country, sourcing professional-grade hides ensures your first project is built to last for decades.
Master the Craft with Professional Foundations
Transitioning from a hobbyist to a serious maker depends on the quality of your first hide and the precision of your tools. You now understand how matching the correct weight, such as an 8/9 oz. shoulder for structural items, ensures your work stands the test of time. By mastering “no-stitch” assembly and clean edge finishing, you build a professional skill set that serves as the basis for every future creation. These fundamentals are what separate high-end goods from amateur experiments.
Since 1970, Sav-Mor Leather Supply has served as a master curator for the maker community. We provide the general public with wholesale access to the same premium brands used by industry experts; this includes C.S. Osborne tools and Fiebing dyes. Don’t let inferior materials limit your potential as you explore beginner leatherworking projects. Using professional-grade hides from the start allows you to develop the tactile intuition required for advanced craftsmanship.
Shop Professional Leather and Tools at Wholesale Prices to start your next project with confidence. Your journey toward becoming a master artisan begins with the very first cut.
Frequently Asked Questions
What is the best leather for a beginner to start with?
Vegetable-tanned cowhide shoulders are the ideal starting point for your first beginner leatherworking projects. This material offers a firm temper that is easier to cut and tool than softer garment leathers, which can stretch or distort under your blade. It reacts predictably to water and friction, allowing you to master the essential skills of casing, stamping, and edge burnishing that form the foundation of professional craftsmanship.
What is the difference between vegetable tanned and chrome tanned leather for projects?
Vegetable-tanned leather uses natural plant extracts to create a durable, rigid hide that holds its shape and accepts dyes beautifully. Chrome-tanned leather is processed with mineral salts to produce a soft, pliable material that is perfect for garments or upholstery. Most construction-focused projects require veg-tan because its fibers can be compressed and polished; chrome-tan edges generally require specialized paints or bindings to look finished.
Do I need a sewing machine to start leatherworking?
You don’t need a sewing machine to create professional-grade items. Most artisans prefer the traditional saddle stitch, which is done by hand using two needles and waxed thread. This method is structurally superior to machine stitching because it won’t unravel if a single thread is cut. Starting with hand tools allows you to control every detail of the assembly process while building a heritage-quality finish.
How do I know what weight of leather to buy for a wallet or belt?
Selecting the right weight depends on the structural needs of the item. For wallets and small goods, we recommend 3/4 oz. to 5/6 oz. weights to maintain a refined, slim profile that fits comfortably in a pocket. Belts and structural straps require significantly more mass, usually 8/9 oz. or heavier. Using the correct weight ensures your project remains functional and durable without becoming unnecessarily bulky or prone to stretching over time.

Article by
Sav-Mor Leather Supply