
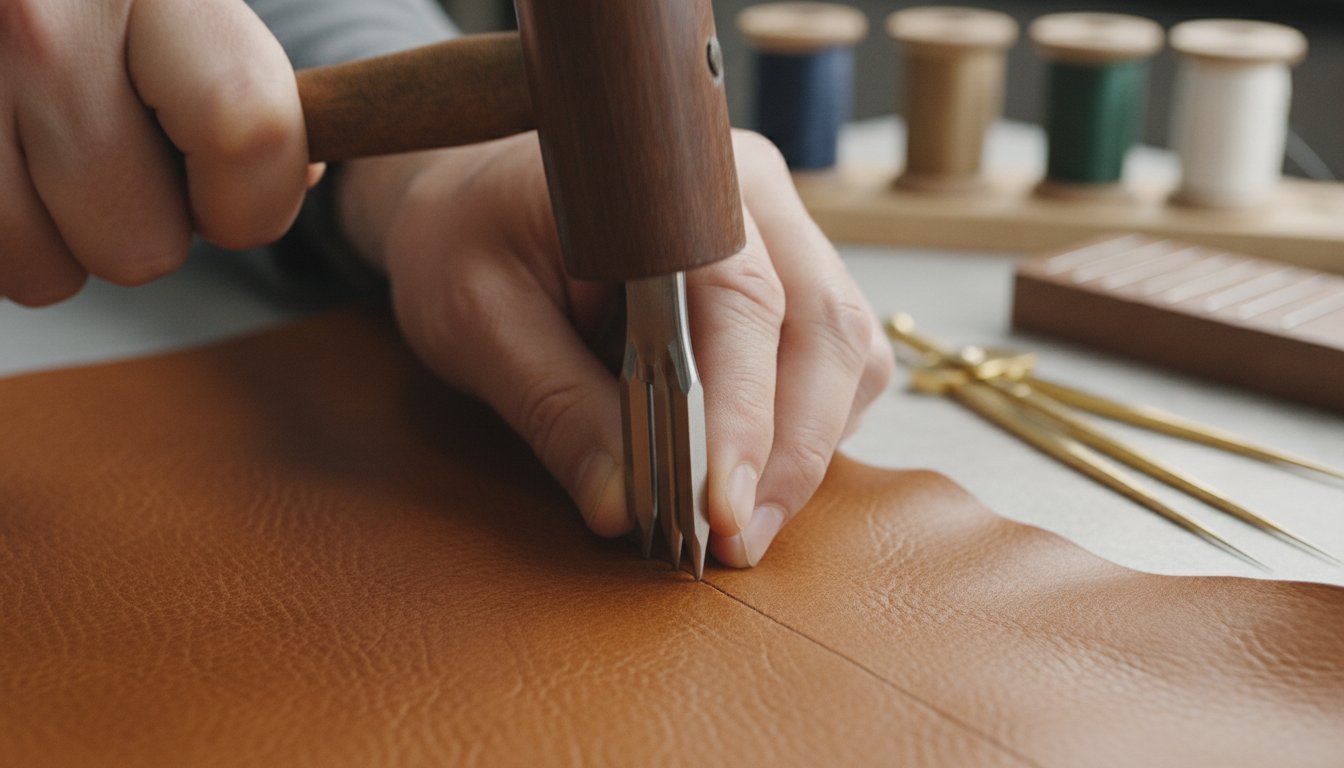
Most beginners believe a cheap all-in-one kit is the fastest way to start leatherworking, but it is often the quickest way to ruin a premium hide. You want to create something that lasts, yet the sheer volume of options makes it hard to know where to invest your money. It’s frustrating to realize your bargain chisels are too dull to pierce a 4 oz veg-tan shoulder without a struggle. We understand the hesitation that comes with choosing your first set of equipment when you are aiming for professional results.
This guide simplifies your journey by providing a curated checklist of professional-grade leather stitching tools for beginners that ensure artisan results from your very first project. You’ll discover the vital differences between pricking irons and diamond chisels, helping you avoid the common mistakes that lead to jagged seams or wasted material. We have vetted these essentials to help you build a workshop that reflects the quality and heritage of the craft. By the end of this 2026 guide, you will have the confidence to pick up your needles and transform a raw hide into a durable, hand-stitched masterpiece.
Key Takeaways
- Learn how to establish perfect margins and protect your seams using essential marking tools like wing dividers and stitching groovers.
- Discover why diamond chisels are the most reliable leather stitching tools for beginners who want to achieve clean, professional-grade holes through multiple layers.
- Master the distinction between pricking irons and chisels to choose the right technique for your specific leather weight and project goals.
- Identify the specific benefits of blunt harness needles and waxed thread for creating a durable, water-resistant saddle stitch that lasts a lifetime.
- Explore how investing in professional-grade tools from the start prevents the frustration and hidden costs of low-quality hobby kits.
The Foundation: Essential Tools for Marking and Preparing Your Stitch Line
Excellence in leatherwork doesn’t begin with the first stitch; it starts with the meticulous preparation of the hide. Choosing the right leather stitching tools for beginners involves more than just finding a needle. It’s about mastering the layout phase to ensure your final product looks intentional and refined. Without a clear, consistent guide, your stitches will likely wander, ruining the aesthetic of even the finest vegetable tanned leather.
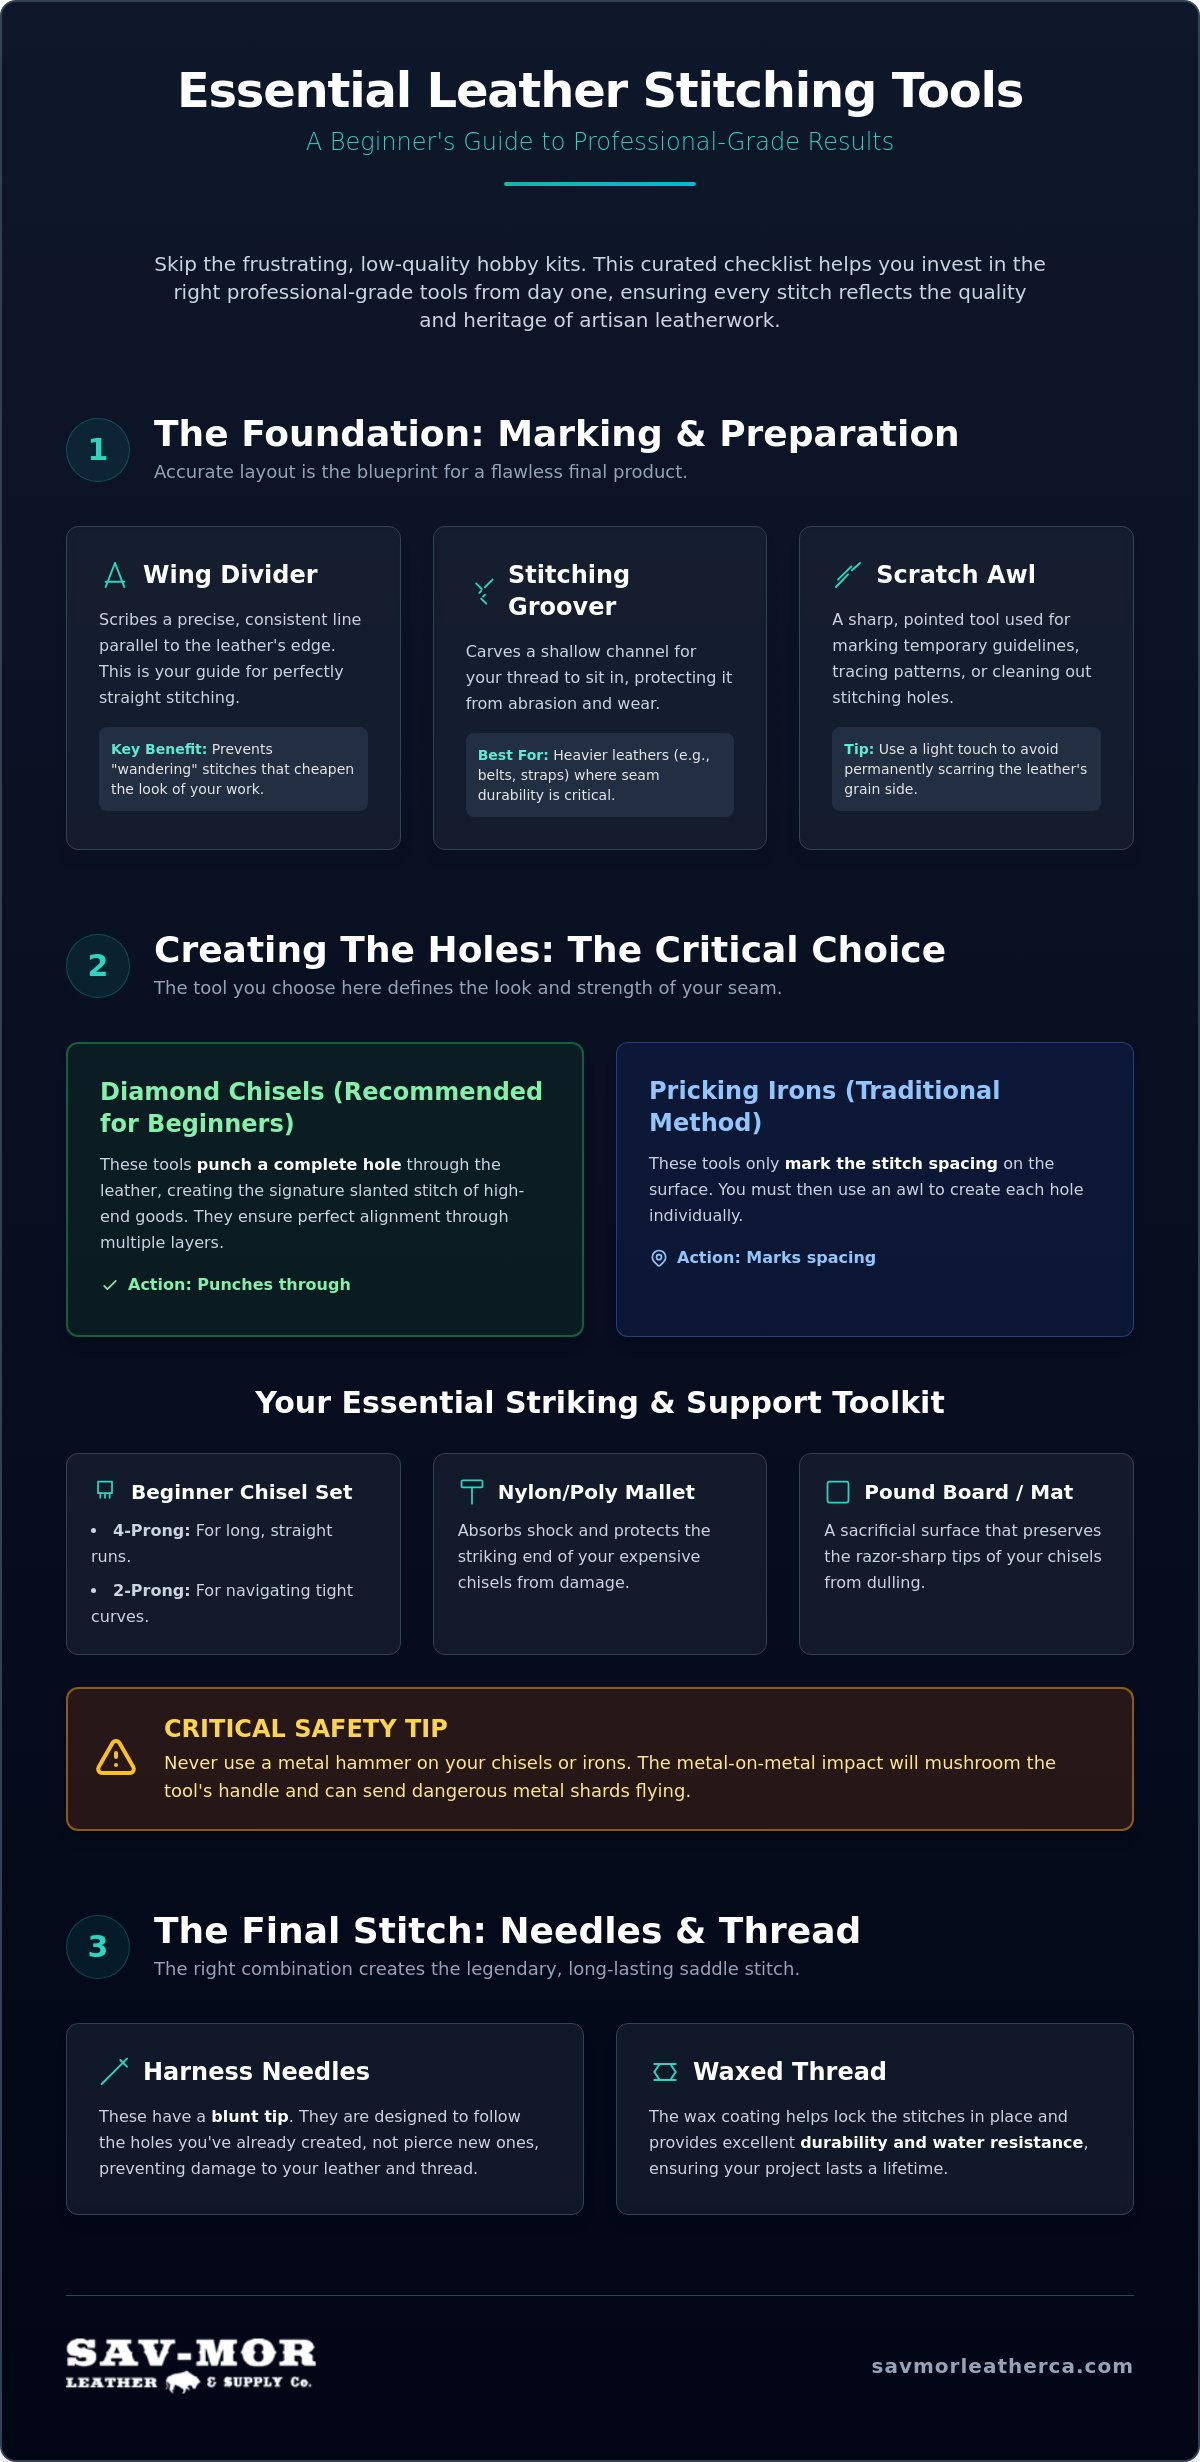
A wing divider is your most trusted ally for achieving consistent margins. This tool allows you to scribe a precise line parallel to the edge, providing a visual path for your stitching holes. By integrating this into various leather crafting techniques, you create professional-looking borders that distinguish artisan work from hobbyist attempts. For marking temporary guides or tracing patterns onto the grain side, a simple scratch awl remains an indispensable part of your kit.
Matching your preparation tools to the specific weight of your material is critical for success. If you’re practicing on a 3/4 oz. veg-tan shoulder for a cardholder, you’ll need a lighter touch than you would for an 8/9 oz. belt strap. Heavier leathers often require a recessed channel to protect the integrity of the seam. A stitching groover is a tool that removes a thin sliver of leather to house the thread below the surface. This prevents the thread from sitting proud on the leather, shielding it from daily wear and tear.
Why Layout Accuracy Defines the Final Product
A wing divider creates a parallel line to the edge, preventing “wandering” stitches that can make a project look sloppy. Professional-grade leather tools provide the consistent tension needed to scribe clean, visible grooves without slipping. This layout acts as the roadmap for your chisels, ensuring every hole is perfectly aligned with the edge of your piece.
Selecting the Right Groover for Your Project
Adjustable groovers offer the most versatility for beginners, as they allow you to change the margin width based on the size of the project. Fixed-width tools are often preferred by professionals for their stability during repetitive tasks. When you’re working with dense veg-tan fibers, a sharp, high-quality blade is essential to prevent the tool from skipping or tearing the grain, ensuring a smooth channel for your thread.
Creating the Holes: Choosing Between Chisels, Irons, and Awls
Once you have marked your stitch line, the next step is creating the holes. For many, this is the most intimidating part of the process. Diamond chisels are the best leather stitching tools for beginners because they punch through multiple layers of leather simultaneously. This ensures your exit holes align perfectly with your entry holes, which is vital for a clean saddle stitch. Using these tools correctly allows you to achieve the slanted, traditional look associated with high-end artisan goods.
Beginners often confuse pricking irons with stitching chisels. While they look similar, they serve different purposes in a beginner’s guide to leatherworking. Pricking irons are traditionally used to mark the spacing, requiring you to finish the hole with an awl. Chisels, however, are designed to drive all the way through the material. This distinction is crucial when working with various weights, as a 3/4 oz. pigskin requires much less force than a dense 8/9 oz. cowhide.
The Diamond Chisel Advantage
Start with a 4-prong and 2-prong set. The 4-prong tool handles long, straight runs with speed and consistency. The 2-prong tool is essential for navigating tight corners and curves where a wider tool would fail. We recommend legacy brands like C.S. Osborne or Craftool. These professional-grade tools offer the durability needed to resist bending when you’re working through thick, veg-tanned layers.
When you graduate to heavy-duty 8/9 oz. hides, a stitching awl becomes your master tool. It allows you to widen existing holes or create new ones in areas where a chisel cannot reach. To drive these tools safely, you must use the correct striking equipment:
- Nylon or Poly Mallets: These absorb shock and protect the tool’s striking surface from deformation.
- Pound Boards: A sacrificial surface that preserves the razor-sharp edges of your chisels.
Never use a metal hammer on your punching tools. Metal-on-metal impact will mushroom the top of your expensive equipment and can cause dangerous shards to fly off during use.
Protecting Your Investment
Always use a dedicated pound board or high-density cutting mat under your work. This simple step prevents your sharp chisel tips from hitting a hard surface and dulling prematurely. Proper hole preparation is also the first step in ensuring your professional leather hardware fits securely and looks integrated into your design.
The Final Stitch: Needles, Thread, and Finishing Supplies
Completing your project requires a shift from force to finesse. Once your holes are punched, the quality of your work depends on the materials you pull through the hide. Harness needles are the preferred choice for this traditional leatherworking craft. Unlike standard sewing needles, harness needles have blunt tips. This design is intentional; since your holes are already pre-punched, a sharp point would only snag the leather fibers or pierce the thread of your previous stitch. Using blunt needles ensures a smooth, frictionless pass every time.
The thread you choose is equally vital. Waxed thread is a staple in any kit of leather stitching tools for beginners. The wax serves three purposes: it lubricates the thread for easier passage, provides water resistance, and helps “lock” the stitch in place to prevent unraveling. For most starting projects like wallets or cardholders, a braided polycord or waxed linen thread offers the best balance of strength and aesthetic appeal.
To achieve professional speed and consistency, invest in a stitching pony. This wooden clamp acts as a “third hand,” securing your project at a comfortable height. It allows you to use both hands for the saddle stitch, which is essential for maintaining even tension. Without a pony, you’ll likely struggle with hand fatigue and inconsistent stitch lines.
Selecting Your Thread and Needle Size
Precision matters. You must match your thread weight to the spacing of your diamond chisels. A 0.8mm thread is generally ideal for 3.5mm or 4.0mm stitch spacing. If your thread is too thick, the seam will look bulky; if it’s too thin, the holes will appear cavernous. Before you begin, learn to “lock” the thread onto your needle by piercing the thread itself before pulling it through the eye. This prevents the needle from slipping off mid-stitch.
Finishing the Edge for a Professional Look
The final mark of a master maker is the edge finish. After stitching, use an edge beveler to remove the sharp 90 degree corners of your leather. Follow this with a wooden slicker or burnisher. By applying friction to the edge, you compress the fibers to create a smooth, rounded profile. To achieve that “soft-as-butter” result, apply premium leather finishes or natural beeswax to the edge before your final burnish. This seals the leather against moisture and provides a sophisticated, high-end glow to your completed piece.
Equip Your Workshop for Lasting Quality
Mastering the saddle stitch is a journey that rewards patience and the right equipment. Precision defines the craft. By focusing on layout accuracy and using diamond chisels to punch clean holes, you set yourself up for artisan results. We’ve detailed how blunt harness needles and waxed thread ensure your seams remain durable and water-resistant. Choosing the right leather stitching tools for beginners early on prevents the frustration of outgrowing low-quality hobby kits after just one project.
Beyond the tools themselves, the environment where you work can influence your creative process. For those looking to build a high-end studio, integrating natural elements like the stone coverings from Korbon Kft. can create a workspace that mirrors the quality and permanence of your leather creations.
Sav-Mor Leather Supply has acted as a master curator for the maker community since 1970. We offer deep industry expertise and nationwide shipping on all our premium hides and professional supplies. Whether you’re a weekend hobbyist or a professional artisan, you can access our curated inventory at wholesale pricing. Discover the difference that heritage-grade equipment makes in your workshop today.
Shop Professional Leather Tools at Wholesale Prices and begin your next project with confidence. Your path to creating beautiful, hand-stitched leather goods is just a few clicks away.
Frequently Asked Questions
Do I really need a stitching groover as a beginner?
A stitching groover is highly recommended if you want your work to last. This tool carves a shallow channel that allows the thread to sit below the surface of the leather, protecting it from friction and daily abrasion. Without this recessed path, the thread remains exposed on the grain side and will likely fray or snap over time as it rubs against other surfaces.
What is the best thread for hand-stitching leather projects?
Waxed braided polycord is the most reliable option for most leather stitching tools for beginners. The wax coating provides necessary lubrication, allowing the thread to glide through pre-punched holes without snagging. It also helps the thread lock into place with every stitch, ensuring your tension remains consistent throughout the entire seam of your project.
Can I use a regular hammer with my leather punches?
You should never use a standard metal hammer on professional punches or chisels. Metal-on-metal impact will mushroom the striking surface of your equipment and can cause dangerous metal shards to fly off. Always use a nylon, poly, or rawhide mallet to drive your tools, as these materials absorb shock while protecting the structural integrity of your kit.
How do I choose the right size diamond chisel for my leather weight?
Matching the chisel pitch to your leather weight is essential for a balanced aesthetic. For lightweight 3/4 oz. projects like cardholders, a 3.0mm or 3.5mm pitch creates a refined, high-end appearance. When working with heavier 8/9 oz. veg-tan shoulders for belts or sheaths, a wider 4.0mm or 5.0mm pitch is preferred to accommodate the thicker thread required for those items.
Is a stitching pony necessary for small leather goods like wallets?
A stitching pony is not strictly mandatory, but it is the third hand that transforms your workflow. It secures your project in a vertical position, allowing you to use both hands to manage the needles and maintain even tension. This ergonomic setup significantly increases your stitching speed and prevents the hand cramps that often occur when trying to hold the leather manually.
What is the difference between a stitching awl and a scratch awl?
A stitching awl features a diamond-shaped blade designed specifically to pierce or widen holes for a saddle stitch. A scratch awl has a round, tapered point used only for marking patterns or scribing layout lines on the hide. You shouldn’t use a scratch awl to create stitching holes, as the round punctures will result in a messy, unprofessional seam that lacks the traditional slanted look.

Article by
Sav-Mor Leather Supply