
The biggest mistake most people make when starting their journey is assuming that a fifty-piece tool kit is the secret to a professional finish. In reality, the success of leather craft for beginners depends far more on the quality of your hide and the precision of a few essential tools than on a workbench full of gadgets. It is easy to feel overwhelmed by technical jargon like “veg-tanned,” “latigo,” or specific weight measurements like 3/4 oz. to 8/9 oz. You might feel frustrated by dull blades or confused about which leather will actually hold its shape for a belt or wallet.
We understand that confusion because we have been a trusted partner to the maker community since 1970. This guide removes the guesswork by providing expert advice on selecting professional-grade materials and hardware. You will learn the fundamental differences between leather types, discover how to build a minimal but high-end toolkit, and gain the confidence to complete your first project successfully. Explore the technical standards of the craft and find exactly what you need to transform a raw hide, whether it is a rugged cowhide or a soft-as-butter sheepskin, into a durable, handmade heirloom.
Key Takeaways
- Learn why vegetable-tanned (Veg-Tan) leather is the gold standard for your first project and how it responds to professional tooling.
- Master the technical logic of leather weights to select the ideal thickness for specific items, from slim 3/4 oz. wallets to sturdy 8/9 oz. belts.
- Identify the “Essential Five” professional tools required for leather craft for beginners, prioritizing quality markers over large, low-grade kits.
- Discover the importance of “casing” your leather and using controlled cutting passes to ensure a clean, professional finish on every edge.
Selecting Your Materials: The Beginner’s Guide to Leather Weights and Tanning
Choosing the right hide is the most critical decision in leather craft for beginners. Professional results start with understanding the material’s DNA, and for most newcomers, undyed vegetable tanned leather shoulders are the ideal starting point. This material serves as a blank canvas, allowing you to experiment with dyes and finishes while providing the structural integrity required for traditional techniques. Starting with a high-quality cowhide ensures your work maintains its shape and develops a rich patina over time. Just as quality equipment is vital for leatherwork, those looking for professional tanning solutions for personal use can learn more about specialized products and equipment online.
Tanning Methods: Veg-Tan vs. Chrome Tan
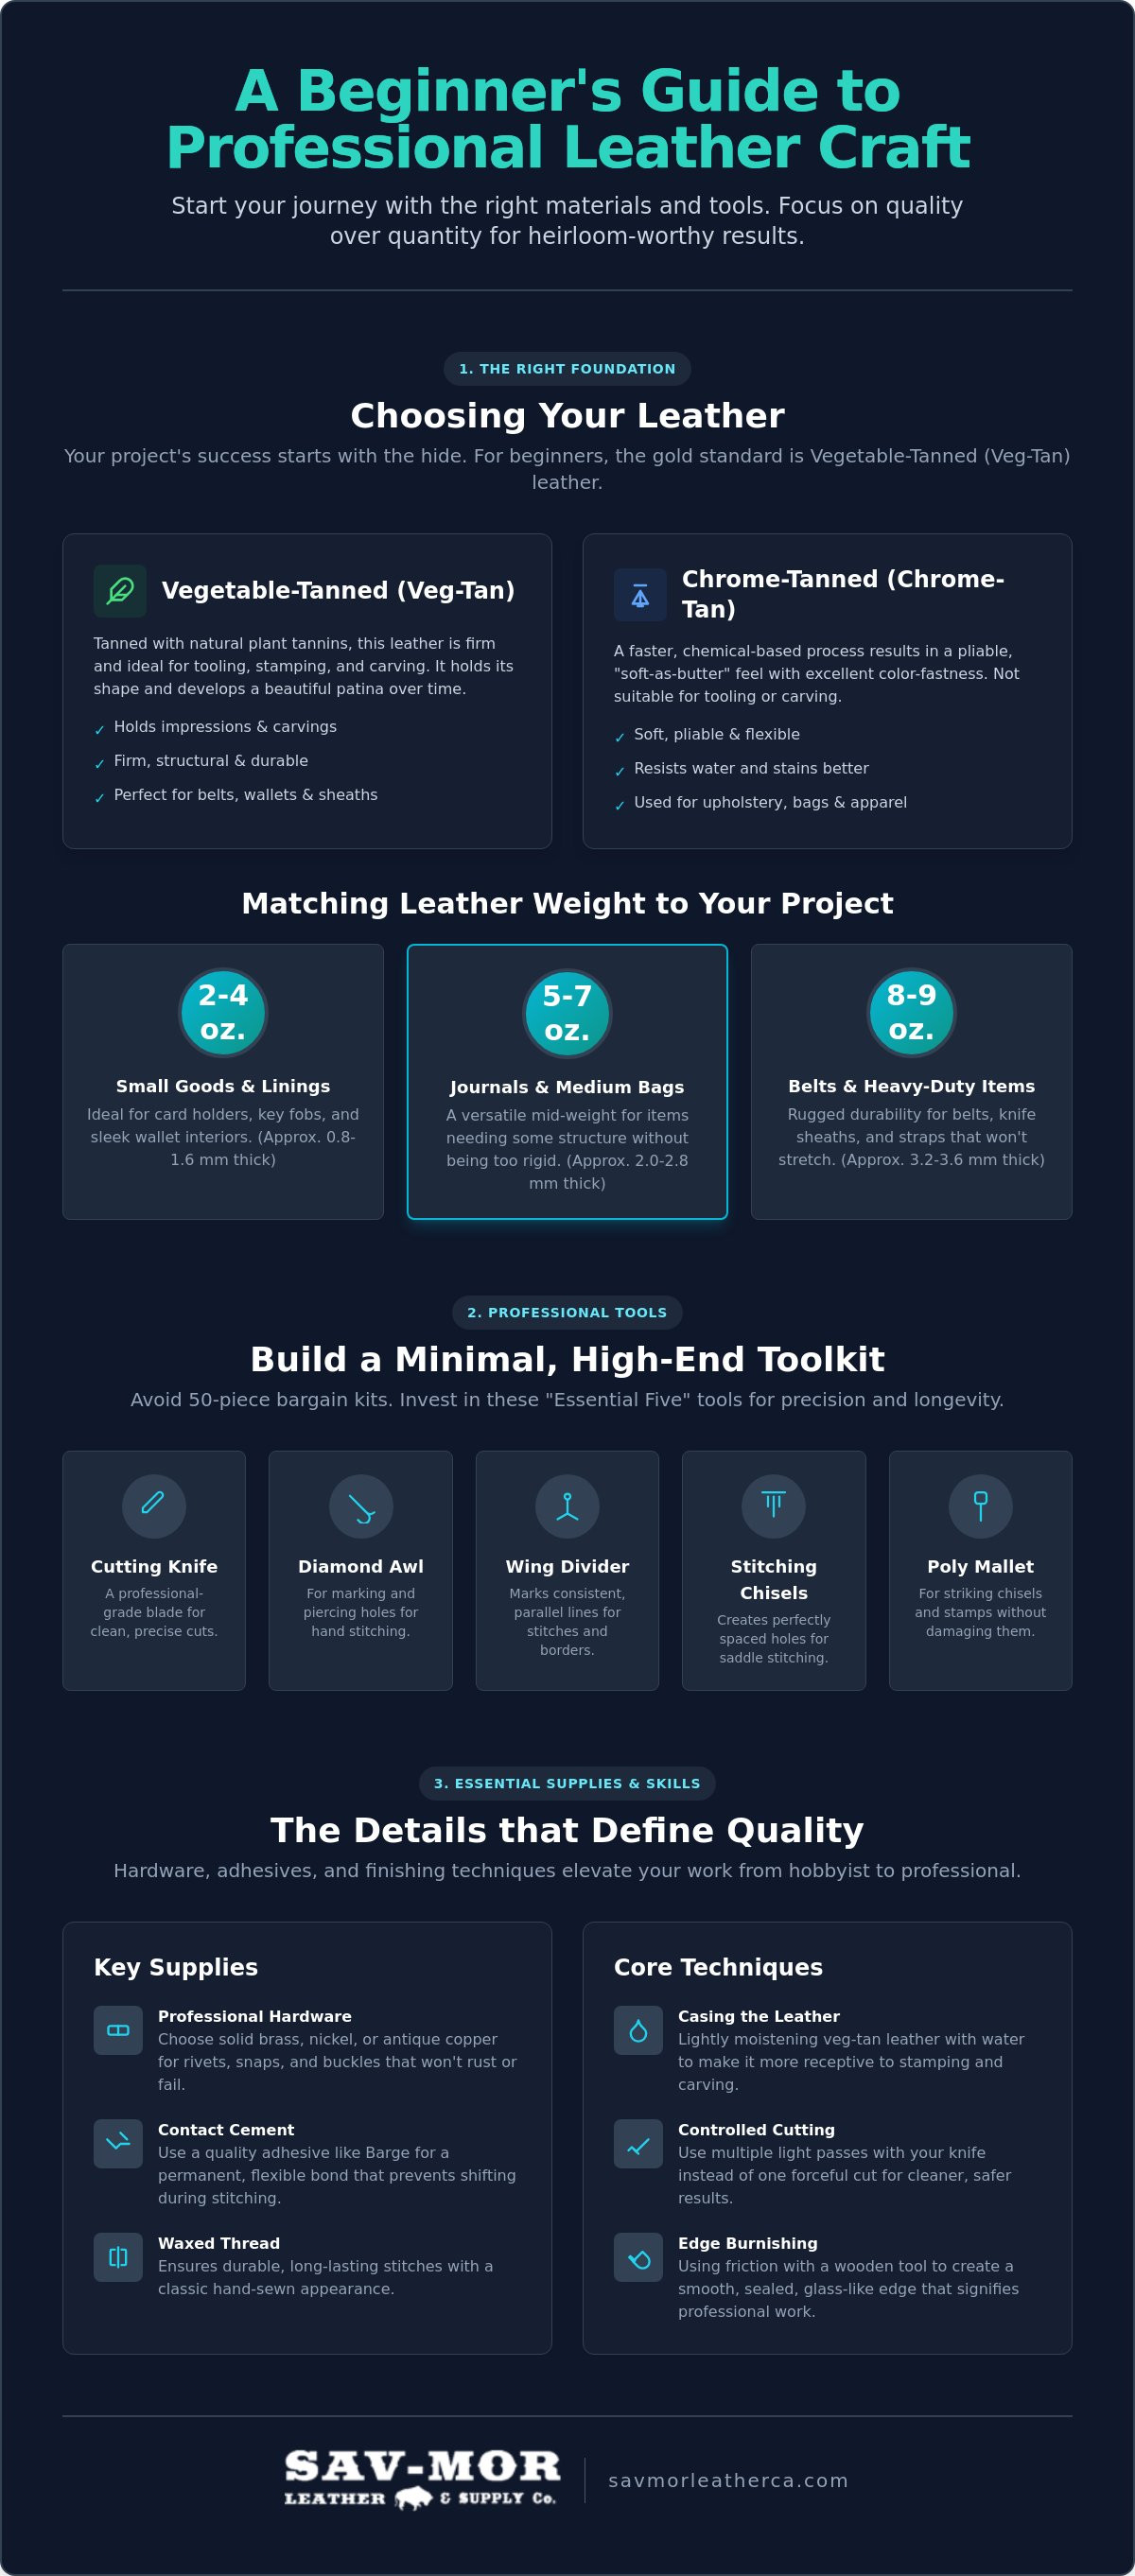
Discover the difference between the two primary tanning processes to ensure your project succeeds. Vegetable Tanned (Veg-Tan) leather uses natural plant tannins, creating a firm, “toolable” surface that holds impressions from stamps and carves beautifully. In contrast, Chrome Tan leather is a faster, chemical-based process. This results in a pliable material with excellent color-fastness, perfect for items that require a “soft-as-butter” feel. Browse our curated collection of leather hides to find the specific tanning type your design requires.
Matching Leather to Your First Project
Technical credibility in leather crafting begins with mastering weights. Leather thickness is measured in ounces, where one ounce equals approximately 1/64 of an inch. Selecting the wrong weight can lead to a wallet that won’t fold or a belt that stretches out of shape. Use this guide to match your material to your intent:
- Small Goods: Choose 2/3 oz. or 3/4 oz. Veg-Tan for card holders and key fobs to keep them sleek.
- Structured Items: Find 7/8 oz. or 8/9 oz. cowhide for belts and knife sheaths that require rugged durability.
- Professional Linings: Incorporate pigskin or sheepskin to provide a refined interior finish for high-end accessories.
The sensory experience of a premium hide is unmistakable. Whether you prefer the earthy scent of a heavy latigo or the smooth grain of a designer-colored goatskin, starting with quality materials ensures your first project feels like a professional piece. Avoid the frustration of low-grade scraps and focus on hides that offer the tactile beauty your hard work deserves.
Building Your Professional Beginner Toolkit
Success in leather craft for beginners is rarely found in a thirty-piece bargain kit. Cheap tools often arrive dull or misaligned, leading to jagged edges and broken needles that stall your progress. Instead, invest in the “Essential Five” tools: a professional-grade cutting knife, a diamond awl, a wing divider for marking stitch lines, a set of stitching chisels, and a poly mallet. By choosing trusted legacy brands like C.S. Osborne or Craftool, you ensure your equipment maintains its edge through countless projects.
Your workspace is just as vital as your blades. Precision requires a stable environment, so find a self-healing cutting mat to protect your surfaces and a granite slab to absorb the impact of your mallet. Understanding the leather tanning process helps you realize how different hides respond to these tools. For example, a firm veg-tan requires different pressure than a soft-as-butter sheepskin. Finally, don’t overlook edge finishing. A simple wooden burnisher used with friction creates a high-end, glass-like edge that distinguishes professional work from hobbyist attempts.
The Role of Professional Leather Hardware
Think of rivets, snaps, and buckles as the functional jewelry of your craft. These components provide structural integrity while defining the aesthetic of your piece. Choose finishes like solid brass, nickel, or antique copper to complement the tone of your hide. Elevate your first project with professional-grade leather hardware, including solid brass buckles and rivets that won’t rust or fail over time.
Adhesives and Threads: The Silent Partners
The strength of your project often lies in what you don’t see. Use a high-quality contact cement like Barge for a permanent, flexible bond before you ever pick up a needle. This prevents the leather from shifting during the stitching process. When you’re ready to sew, select a waxed thread to ensure durability and that classic, hand-sewn look. Explore essential lacing and threads to find the perfect match for your first saddle-stitch project.
Executing the Craft: Basic Skills and Your First Project
Mastering the physical techniques of the trade transforms raw materials into heirloom-quality goods. Before you make your first mark, you must understand the “casing” process. This involves lightly dampening your Veg-Tan leather with a sponge to make the fibers receptive to stamps or swivel knives. Proper casing ensures your designs remain crisp and deep. This foundational step is often overlooked in basic guides, yet it is essential for anyone pursuing leather craft for beginners with a professional mindset.
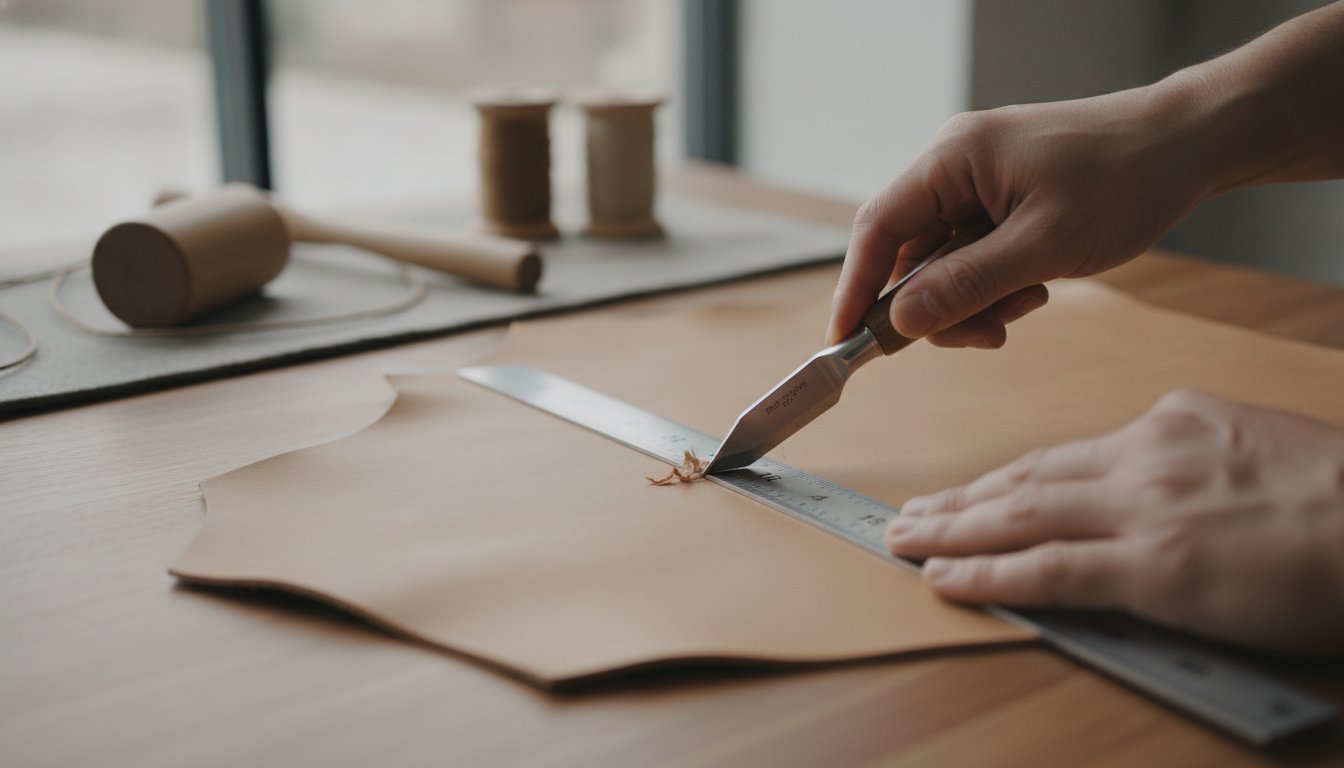
Precision cutting is the next hurdle. Instead of forcing your blade through the hide in one heavy stroke, use steady pressure and multiple light passes. This prevents the leather from bunching or stretching, resulting in a perfectly vertical edge. Review this Leather crafting overview to see how these manual skills form the basis of the entire industry. Once your pieces are cut, use a saddle stitch for assembly. This traditional hand-stitch uses two needles and a single thread, creating a bond that won’t unravel even if one stitch breaks. It is far superior to machine stitching for durability and aesthetic appeal.
Finalize your work by applying professional finishes. Use high-quality dyes from legacy brands like Fiebing or Angelus to achieve a rich, even color that won’t flake or peel. These professional-grade liquids penetrate deep into the grain, preserving the natural beauty of the cowhide while adding your personal touch.
Step-by-Step: Crafting a Simple Card Wallet
- Step 1: Pattern and cut your 3/4 oz. Veg-Tan pieces using a sharp head knife or utility blade for clean lines.
- Step 2: Mark your stitch lines with a wing divider and punch holes using a diamond chisel to ensure consistent spacing.
- Step 3: Apply your chosen dye, then assemble by gluing, saddle-stitching, and burnishing the edges with a wooden slicker for a professional sheen.
Sourcing Like a Pro
Find a supplier that offers wholesale pricing and expert guidance to support your growth. Since 1970, we have served as a bridge between raw hides and refined design, providing the same premium materials to hobbyists that we supply to professional artisans in Los Angeles. Buying at wholesale allows you the freedom to make learning mistakes without the burden of high costs. Ready to start? Shop our professional leathercraft tools and get the same supplies the experts use.
Master the Art of Professional Leatherworking
Embarking on your first project is an investment in a skill that lasts a lifetime. You now understand that the foundation of leather craft for beginners isn’t found in a cluttered starter kit, but in the deliberate selection of premium cowhide and the “Essential Five” professional tools. By choosing the correct leather weights and mastering the saddle stitch, you’ve already bypassed the most common hurdles that stall new makers. Quality materials make the difference between a project that feels like a hobby and one that feels like a heritage piece.
Since 1970, our family-owned business has provided the maker community with the same high-end supplies used by industry experts. We offer professional-grade tools from trusted legacy brands like C.S. Osborne and Craftool at wholesale prices to the general public. This ensures you have access to the best equipment without the typical retail markup. Find the perfect buckles, snaps, and rivets for your first project in our hardware collection and give your work the functional jewelry it deserves. Take that first cut with confidence; your journey into this timeless craft has only just begun.
Frequently Asked Questions
What is the easiest leather project for a complete beginner?
A simple card holder or key fob is the most accessible project for those starting leather craft for beginners. These items require small amounts of 3/4 oz. vegetable tanned leather and focus on fundamental skills like straight-line cutting and basic saddle stitching. By completing a small accessory, you gain immediate experience with material density and edge finishing without the complexity of multi-layered assembly.
Do I need a sewing machine to start leatherworking?
You don’t need a sewing machine to produce high-quality leather goods. Most professional artisans prefer the saddle stitch, which is a hand-sewing technique using two needles and waxed thread. This method creates a bond that’s significantly more durable than a machine-made lockstitch. Starting by hand allows you to master the tension and placement of every stitch for a truly bespoke result.
What is the difference between vegetable tanned and chrome tanned leather?
Vegetable tanned leather is processed with natural plant tannins, resulting in a firm material that holds stamps and carves beautifully. Chrome tanned leather uses chromium salts for a faster process, creating a pliable, color-fast hide that’s often described as soft-as-butter. While this level of softness is prized in many industries—similar to how Baby Loves Sleep guides users on choosing the right material ratings for comfort—for leather craft for beginners, we recommend starting with veg-tan because its structural integrity makes it easier to handle during cutting and assembly.
Is leather crafting an expensive hobby to get into?
Leather crafting is an affordable hobby if you prioritize quality over quantity. Instead of purchasing an expensive, low-quality fifty-piece kit, invest in essential professional tools and source your hides at wholesale prices. This focused approach ensures you spend your budget on materials that actually improve your results while providing a solid foundation for your workshop as you learn the trade.

Article by
Sav-Mor Leather Supply